
Five tips to prevent blisters on your fingers
Blisters on your fingertips. You probably know the feeling – just when you’re getting into the jam, your fingers start hurting. Of course you don’t want to be a whiner, so you stubbornly continue playing. The result: blisters. After which you can’t practice for a couple of days. Here are five tips to prevent this situation.
Blister Prevention Tip 1 – Practice regularly for short periods of time
Just started playing the guitar, or haven’t jammed in a while? Most likely your fingers are not used to pressing on strings. The result: pain and swelling of your fingertips. One of the best ways to cultivate calluses and get rid of the uncomfortable feeling, is to practice often. Sounds obvious doesn’t it? Just keep in mind that your fingertips have to get used to the feeling. Especially in the beginning it’s important to keep your jam sessions short. Choose a song you want to play and practice it for a quarter of an hour. After fifteen minutes your fingertips are probably burning. Stop jamming and give them some rest. Playing guitar is very addictive, yeah we know. But it’s also similar to playing sports. If you want to see fast results, you’ll have to rest as much as you train. That’s why our advice is to take at least a twelve-hour break between jam sessions. Follow this approach for a week or two and thank us later.
Blister Prevention Tip 2 – Cool your fingers

Blister Prevention Tip 2 – Cool your fingers
The pain in your fingertips is caused by the strings cutting into your skin. It takes a while for your body to strengthen that part of your fingers with callus. You can speed up the process by cooling your hands after playing. After jamming for fifteen minutes, turn on the cold tap. Keep your fingers under the pouring water for a minute. You’ll notice the improvement right away. The burning sensation will fade, or perhaps even disappear.
Blister Prevention Tip 3 – Reduce the action of your guitar
Blister Prevention Tip 3 – Reduce the action of your guitar
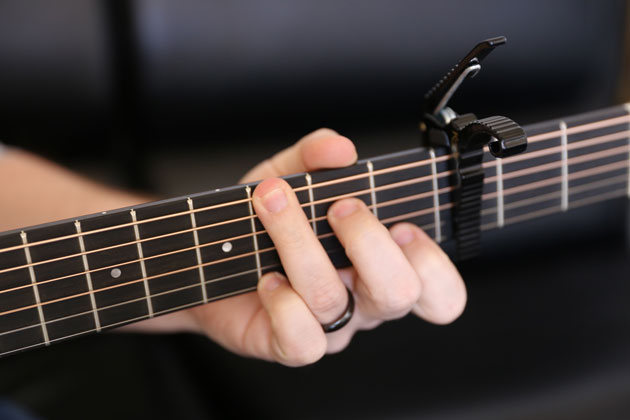
The action of your guitar is the distance between the strings and the neck. The higher the action, the harder you have to press to get a clean sound. That, of course, is painful for your fingertips. This is why it is wise to lower the action on your axe. Here are two ways how to do this. By tuning your strings down a semitone, you’ll reduce the tension on the strings. Less tension equals less pain. A semitone down means that your E-strings, both high and low, are tuned in Dis. The A chord becomes a Gis, the D chord changes into a Cis, the G chord becomes a Fis and the B becomes an Ais. The second way you can lower the action is to place a capo on the first fret. This ensures that the strings get closer to the neck. Again, this approach will feel much better for your fingers while playing.
Blister Prevention Tip 4 – Clip your nails
More calluses on your fingertips is equivalent to less pain during jamming. You can accelerate the formation of calluses by using a larger area of your skin when playing the guitar. Clipping your nails is a good way to do this. Less nail is more skin surface. Try it out, but do not clip your nails too close to the skin. That can be painful and counter-productive.
Blister Prevention Tip 5 – Select the right strings
Blister Prevention Tip 5 – Select the right strings
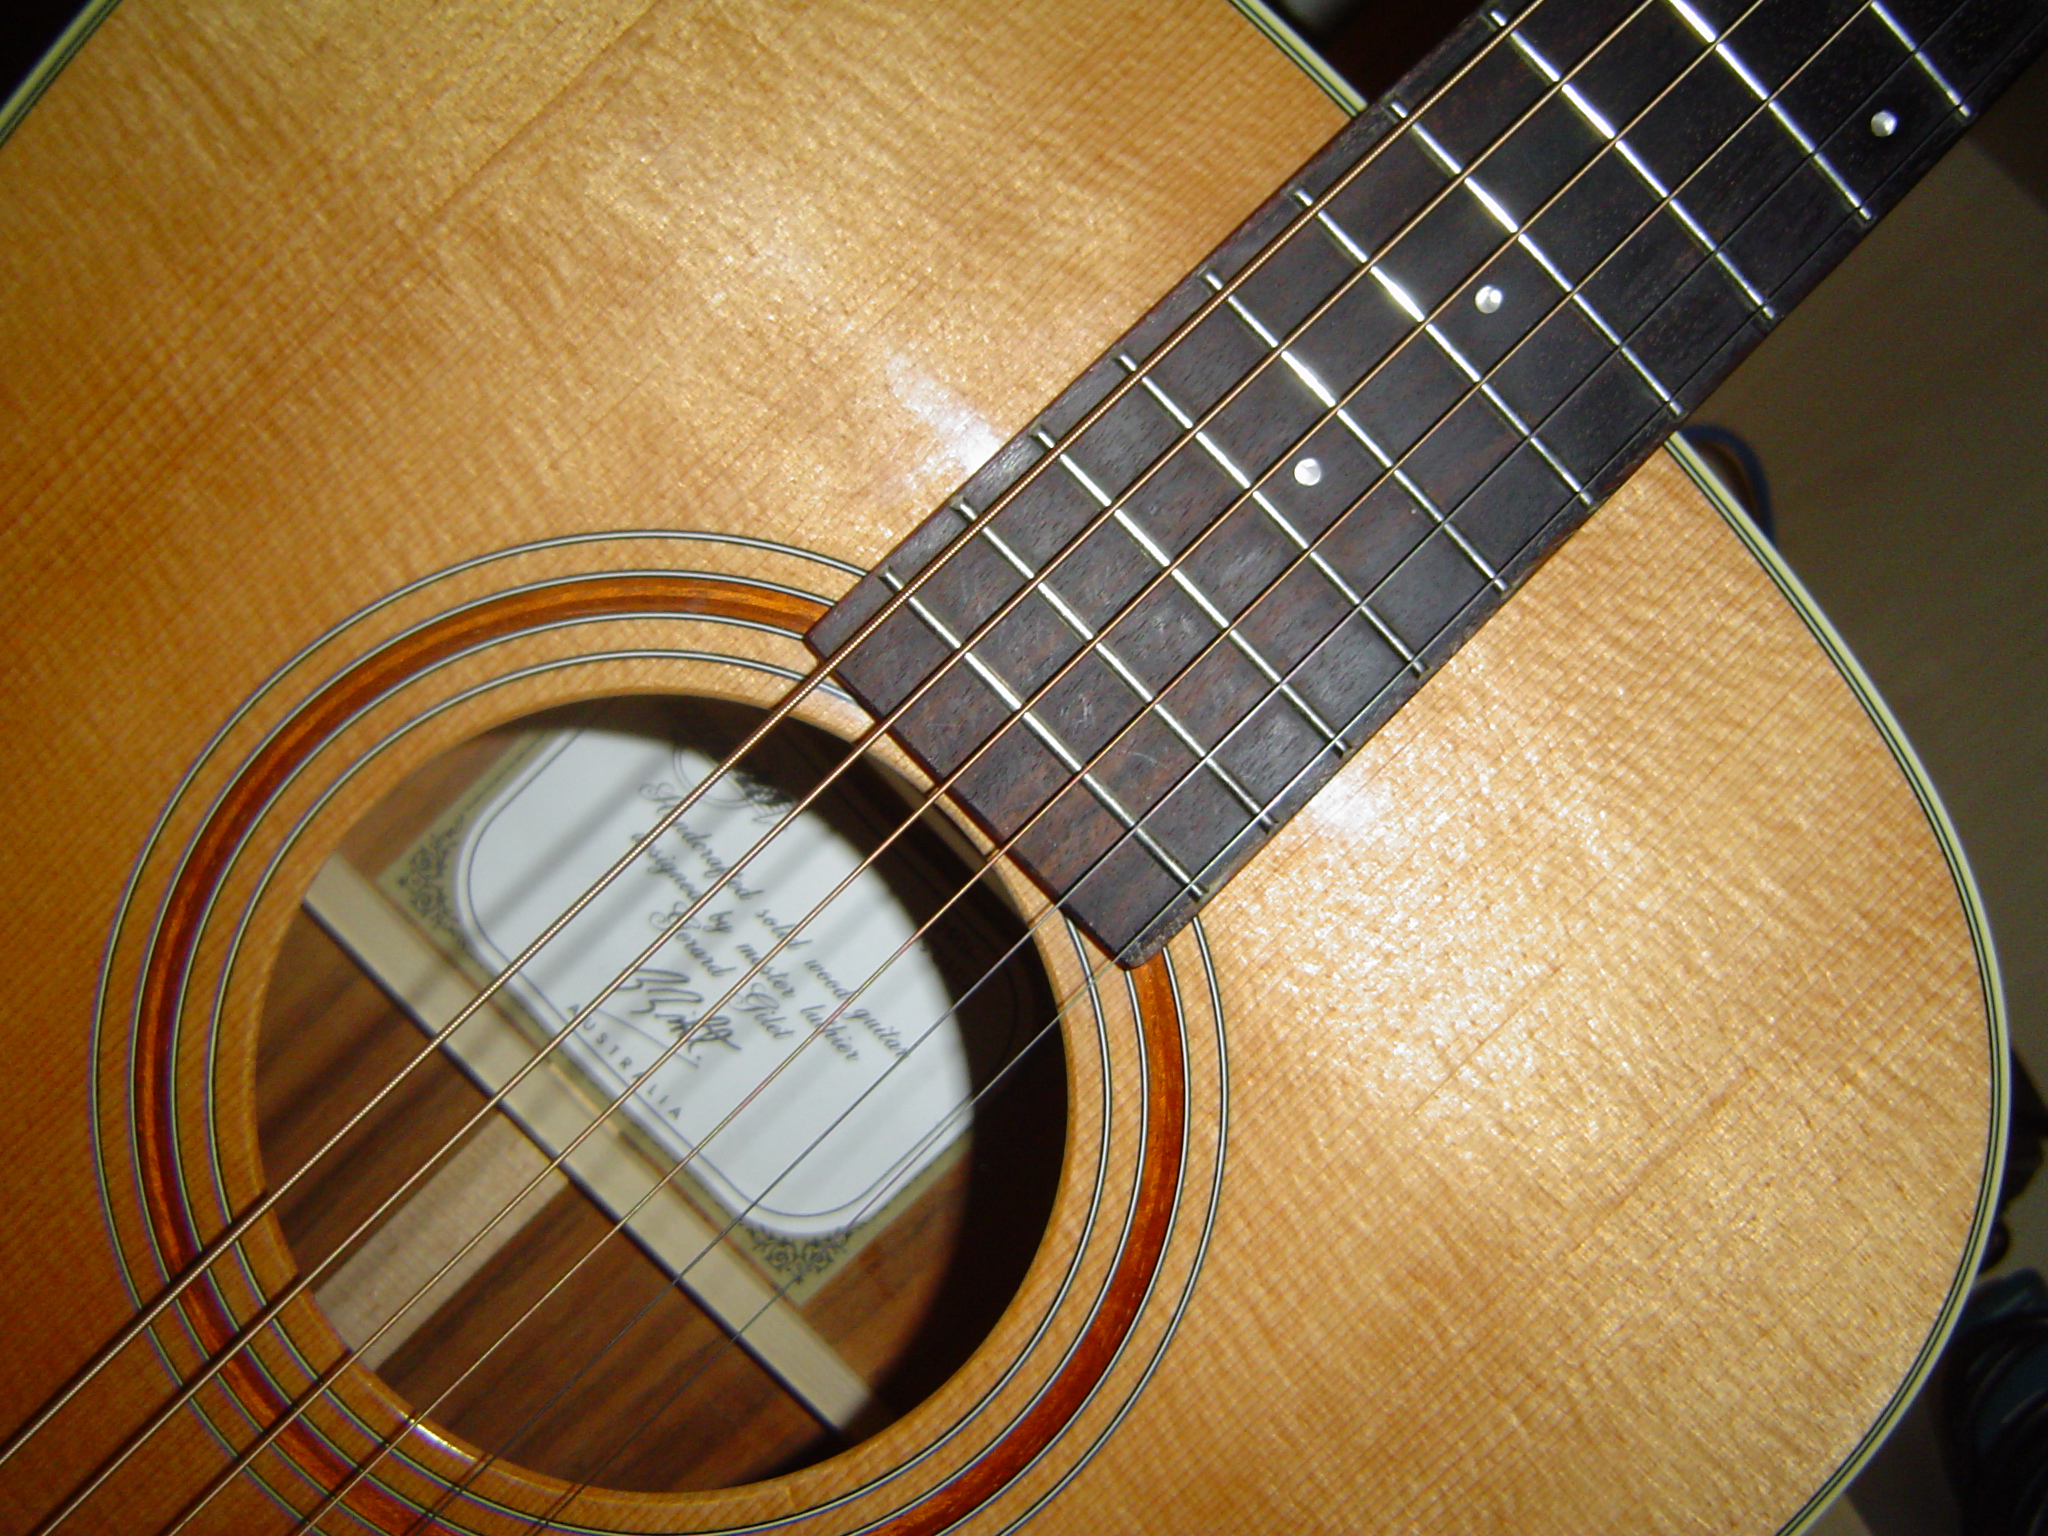
Depending on the type of guitar, you can choose to use less ‘painful’ strings. The least hurtful strings are those used on a Spanish guitar (also called a classical guitar).The G-string, B-string and high E-string are made from nylon. This makes them a lot less painful than their steel counterparts, that you’ll commonly find on a Western guitar. If you play electric or Western guitar, you have a choice: light, medium or heavy strings. Light strings are thinner and require less force when playing. And less force means… yup, less pain.
No pain no gain
Follow the tips above and you’ll see that progress comes faster than you think. The process ain’t painless, but on the other hand the motto is: no pain no gain! Therefore, keep practicing and keep striking them chords. It will get easier and more fun with every session. Happy jamming!